
Touch-screen
Move: touch or drag on the playfield toward where you want the Blue Saucer to move.
Fire: press the red FIRE button at the lower-right.
Pause: use the pause control just below the HUD.
 Pilot reference
Everything a Blue Saucer pilot needs to know: controls, scoring, asteroid tricks, Power and Shield meters, Repairs, weapons, boss weak points and how to keep a run alive.
On a touch-screen, the two things to remember are simple: touch where you want to go, and press the red FIRE button to shoot.
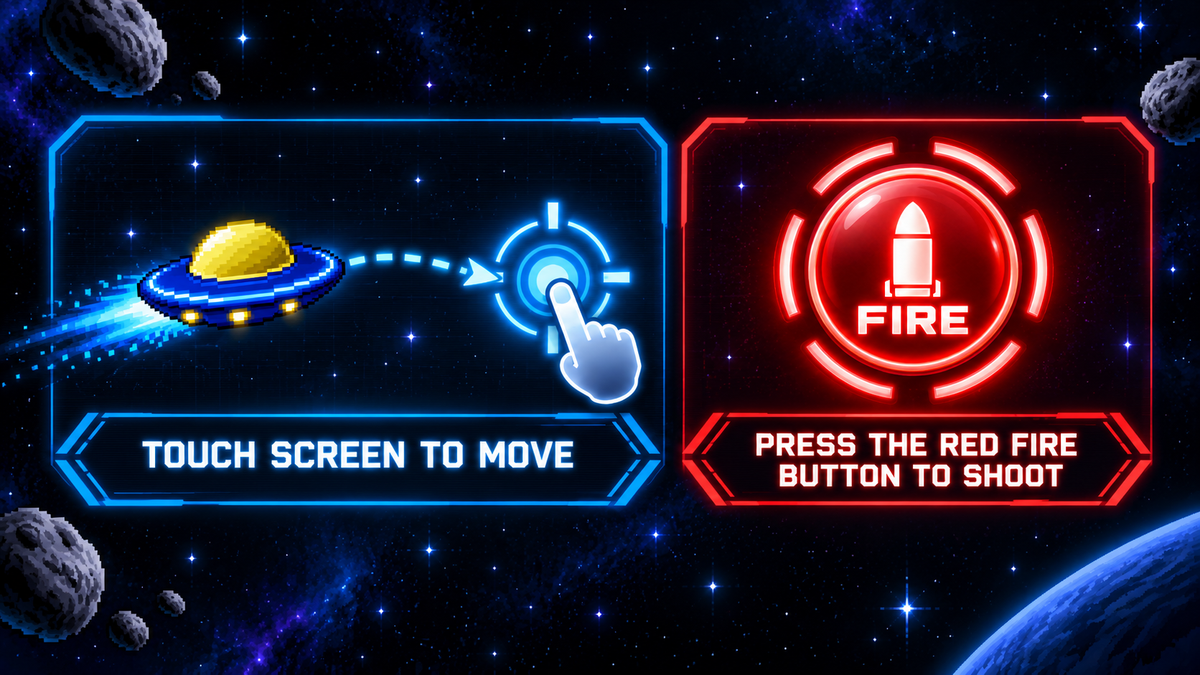
Move: touch or drag on the playfield toward where you want the Blue Saucer to move.
Fire: press the red FIRE button at the lower-right.
Pause: use the pause control just below the HUD.
Move: use the directional pad or left joystick.
Fire: use the mapped face/fire button. The label may be X, Y, A or B depending on the controller.
Pause: use the Start/Menu button.
Move: use the arrow keys.
Fire: press X by default.
Pause: press P. Desktop movement and fire bindings can be changed in Options.
The Blue Saucer is tough enough to take several hits, but the meters at the top of the screen decide how aggressively you can fight.
The Power meter represents your firing capacity. A fuller meter means the saucer can reload and fire more rapidly.
Every shot uses some Power. The meter slowly recharges on its own, and collecting a Power Charge gives it an immediate boost. Normal and Expert play drain more Power per shot than Easy.
Triple Phaser fire consumes Power faster because three shots are created at once. If the Power meter runs low, you can still shoot, but your firing rate slows until the meter recovers.
A Shield pickup fills the Shield meter and gives the Blue Saucer temporary immunity to damage.
The shield lasts for about 20 seconds. The meter continuously drains while it is active, and the visible shield around the saucer fades as its remaining time gets low.
Another Shield pickup refills the protection to full duration.

The Blue Saucer starts with three hull points. Without a shield, three damaging hits will destroy the ship.
Wrench/Repair pickups act like extra chances. You can carry up to five Repairs. If the saucer is destroyed while a Repair is available, one Repair is consumed and the current wave restarts.
On a Repair restart, your hull returns to full, Power returns to full, the Shield is cleared, and your score is restored to what it was at the beginning of that wave. This prevents a failed attempt from being farmed for extra points.
Regular waves are time-based and run for about 80 seconds before remaining enemies and asteroids are cleared.
The thin green progress line advances across the HUD as the wave progresses. Every fifth wave leads into a boss encounter.
There is no final wave. After a boss is defeated, the game continues and the pressure keeps increasing.
Blue Saucer awards points for damaging enemies, not only for the final kill. Asteroids can also become weapons.
| Target | First hit | Finishing hit |
|---|---|---|
| Large asteroid | 25 | breaks apart |
| Small asteroid | — | 50 |
| Space Worm | 50 | 100 |
| Red Saucer | 75 | 150 |
| Red Fighter | 100 | 200 |
| Red General | 125 | 250 |
| Red Missile | 150 | 300 |
| Super Saucer | 175 | 350 |
The two numbers shown in the in-game guide are the points awarded as a two-hit enemy is damaged: the first hit and the finishing hit.
Hitting a large asteroid damages it and breaks it into smaller, faster fragments. Those fragments inherit credit from the player attack that created them.
If one of your asteroid fragments collides with and destroys an enemy, you receive that enemy's point value. A carefully placed asteroid shot can therefore start a chain reaction that clears enemies and increases your score.
Plasma waves can also damage asteroids and give their resulting fragments player credit.
Pickups drift into the playfield during regular waves. Some are immediate effects; others are stored or timed.

Rescue a stranded astronaut for 100 points.

Restores part of the Power meter so your firing rate can recover more quickly.
Adds one wave retry, up to five. A Repair is consumed when a destroyed saucer restarts the current wave.

Fills the Shield meter and grants about 20 seconds of damage immunity.

Temporarily changes each firing action into a three-way shot. Duration is about 20 seconds early in a run, 30 seconds after 30,000 points, and 60 seconds from 50,000 points onward.

Stored as ammunition. When one is ready, firing launches a cluster bomb along with your attack; its blast can damage multiple enemies.

Activates when collected and sweeps across the playfield, damaging ordinary enemies, boss weak points and asteroids. The main boss hull itself is not a valid target.
Higher difficulty increases the pressure from enemy spawning and shooting. Power also drains more quickly per shot on Normal and Expert, so sustained fire requires more discipline.
Each difficulty has its own personal-best tracking and its own online leaderboard.
If leaderboard sharing is enabled, a qualifying score can be submitted to the online top ten for the difficulty you played. The game asks for short arcade-style initials when a score qualifies.
An Internet connection is required for the online board. Your local run can still be played without it.
The big boss body is generally armor, not the target. Your shots ignore the main hull. Watch for the vulnerable pods, cores and drones that appear when the boss opens. Clear every active weak point and drone to complete a damage cycle. If a timed open phase closes before you clear it, that cycle must be attempted again.

Wait for the Hive to open, then destroy its four pods and attacking drones before the opening closes. At its first appearance you must clear two complete weak-point cycles. Shooting the outer hull does nothing.

The Motherworm has one small vulnerable spot that is targetable only while the creature is visibly exposed. Concentrate fire on that spot when it opens and avoid the Space Worms it produces. At its first appearance you need three successful weak-point cycles. Its defeat releases additional worms, so keep moving.
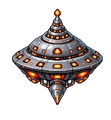
The Carrier opens with four large pods plus escort drones. Destroy every pod and every active drone to complete a cycle. The first Omega Carrier requires three cycles. Its large targets are easier to hit, but the escorts can pull your attention away at the worst time.
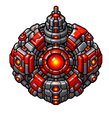
Target the central core and four rotating outer pods, along with the fortress drones. All active targets must be cleared during each opening. The first Arc Fortress takes four cycles, so conserve Power and keep your shots on the weak points.

The Jelly is different: it has no shootable pods. Destroy its group of escort drones to complete a round. Clear six drone rounds and the Nebula Jelly retreats from the battle. Do not waste fire on the jelly body.

When the Core opens, attack its central weak point and clear the drones around it. The Singularity Core stops its normal movement while vulnerable, giving you a chance to focus your fire. It requires four cycles at its first appearance.
Holding the fire control continuously can leave the Power meter low just when a dangerous target appears. Short controlled bursts let the meter recover and preserve your fastest firing rate.
The main boss hull is intentionally invulnerable. If your shots seem to do nothing, look for a pod, core, exposed eye or drone instead.
Asteroids are hazards, but once your attack breaks one apart its fragments can become scoring weapons. Shoot a large asteroid when enemies are clustered around its path.
A Repair restarts the wave and restores your wave-start score. It gives you another attempt without letting repeated failed attempts inflate the leaderboard score.
While the Shield meter is active you are immune to damage. Use that window to stay on dangerous targets and keep firing instead of immediately retreating.
Easy, Normal and Expert each have separate online top-ten boards, so choose the pressure level you enjoy and compete against players using the same setting.

